This week, I’m going to share my new step-by-step tutorial for how to create very easy Hallowe’en nail art that anyone can do with little time and just a few supplies most nailphiles already have in their collection. (Hint: It involves just two colours!)
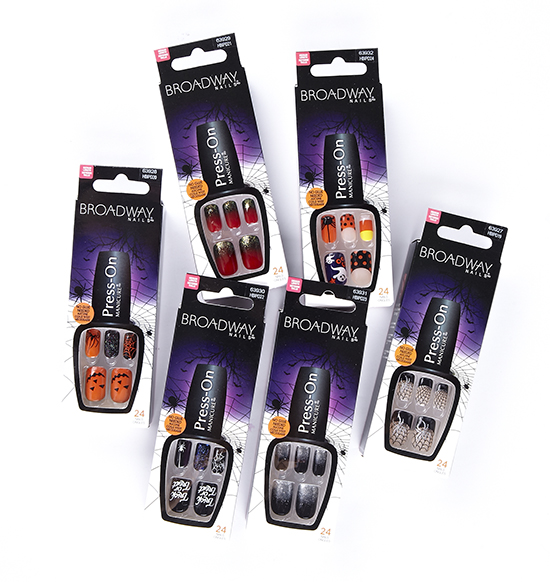
However, in case you wanted to sport more intricate designs on October 31 and don’t have time, I thought I’d show you some of the fun Broadway Nails imPRESS Press-on Hallowe’en Nails.
Although I don’t wear press-on nails on a regular basis, I have worn them a handful of times as a novelty for special occasions. For Hallowe’en, I may wear a combination of the ones I’ll show you in this post.
What I really enjoy about them is that they fit the size of my nails, which, believe it or not, are small. My fingers are very thin and long, and my nails are therefore proportionately small as well. (But when you see my photos on the blog, keep in mind that you’re seeing them in a photograph that blows them up larger than life. Actually, some readers have voiced their surprise when they meet me in person. They expected my nails and hands to be much bigger, but I’m a petite woman in general.)
To find press-on nails that fit my baby finger, which is extra small, isn’t common. So I appreciated the fact that I can even wear the Broadway Nails imPRESS Press-ons! Plus they’re really easy to apply. You don’t need nail glue. All you do is peel off the tab and stick them onto your nails. (The adhesive is already on the underside of the press-on nail, which is really convenient.)
In this post, you’ll see photos that PR was kind enough to send me, as well as the official press release with more information. They show all the Hallowe’en designs including spider webs, ghosts, candy corn, and more. (You may remember seeing a few that I sprinkled in an Instagram post I shared on the weekend.)


 Praying for nail inspiration? 😉