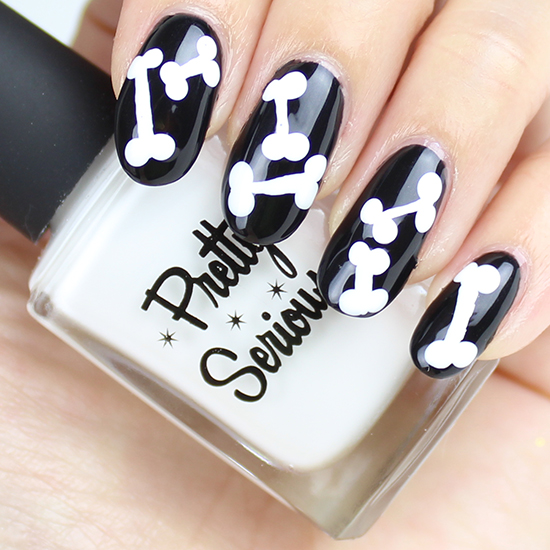
Make no bones about it, but Bone Nail Art is easy to incorporate into any spooky design for a Hallowe’en manicure.
You don’t need any special colours – just black and white. Those are pretty much staples for most nail art, and any nailphile probably already has them in their collection.
I used OPI My Gondola or Yours?, which is a glossy black from the Venice Collection. For the white, I reached for Pretty Serious Presence.
The only additional tools you’ll need are a dotting tool and a striping brush. However, if you don’t have a dotting tool, using the end of an old makeup brush or pen can do the trick in a pinch.
As for the striping brush, you don’t need one that’s specifically for nail art. You can get an inexpensive set of brushes from the Dollar Store’s craft section and then use scissors to trim the bristles to narrow the width to your needs. Easy peasy!
Haha, also, don’t forget to add the rounded areas on either ends of the bones. If you accidentally only do one side, well, it’ll make some pretty risqué adult nail art for a bachelorette party, I suppose! 😉
I hope that you enjoy my step-by-step tutorial with written instructions and photos near the bottom. I love sharing simple and quick nail designs that anyone can recreate. The more we all can spread the joy of painting, the better!
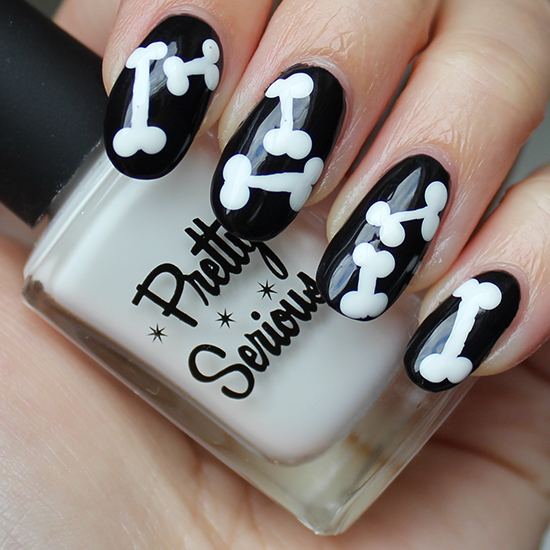
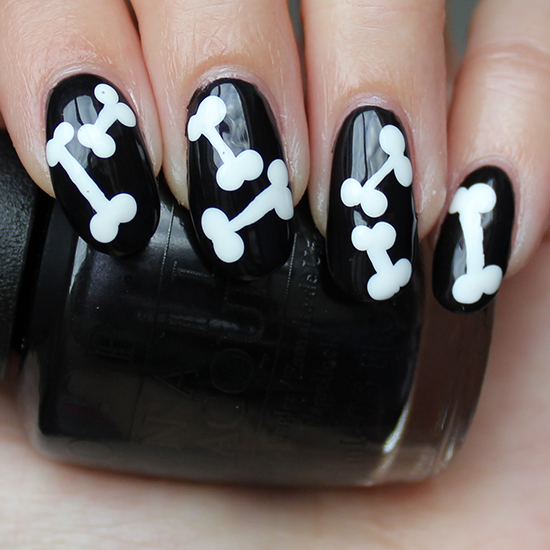
Bone Nail Art Swatches
All swatches have:
- OPI Nail Envy – Maintenance version (Used as a base coat)
- 2 coats of OPI My Gondola or Yours? (Black)
- Pretty Serious Presence (White)
- Pretty Serious Aqua Coat Top Coat
Artificial Light Photos

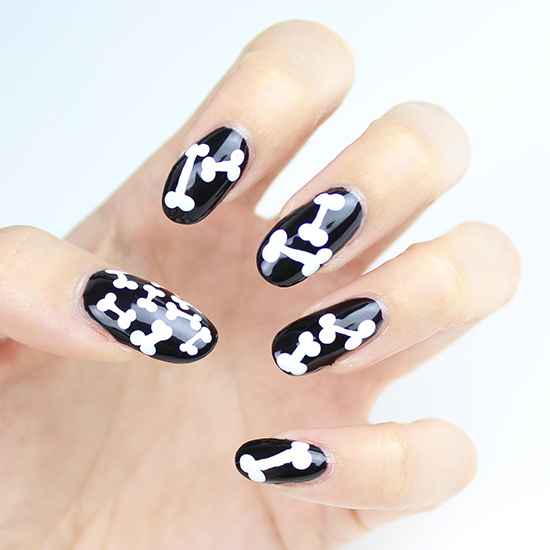


Natural Light Photos


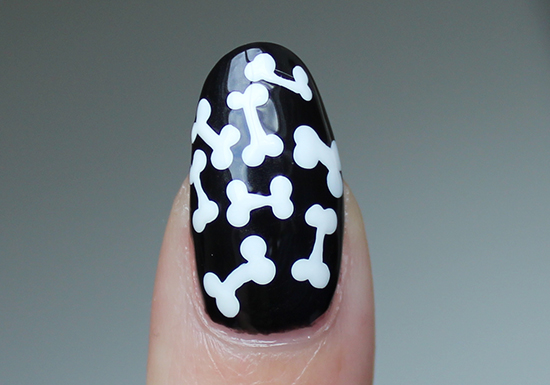
*~* Bone Nail Art Tutorial *~*

What I Used:
- OPI Nail Envy (Maintenance version)
- Pretty Serious Aqua Coat Top Coat
- OPI My Gondola or Yours?
- Pretty Serious Presence
- Daniel Stone Art Tool #1
- Nail striping brush
Step 1: Apply your favourite base coat
Step 2: Paint the base colour
After allowing your base coat to dry, apply whichever base colour you want.
I suggest using a dark shade, so the white bones will be easier to see with more contrast.
Here, I used two coats of OPI My Gondola or Yours?, which is from the Venice Collection.

OPI My Gondola or Yours?
Step 3: Start creating the bones
Using a striping brush dipped into an opaque white nail polish, apply long lines in different directions on each nail.
Make sure that you leave space near the ends, and avoid having them touch.
Don’t worry if the thickness isn’t even. After all, bones come in all sizes and aren’t completely symmetrical. (Plus remember my life philosophy that I keep harping about? Happiness is more important than perfection, so as long as you’re happy wearing your nail art, that’s what matters the most!)
The white I used was Pretty Serious Presence, and I didn’t need to go over the lines a second time.

Step 4: Put the finishing touch on the bones
With your dotting tool dipped into the white nail polish, add two touching dots to either end of the lines you painted.

Step 5: Add a shiny or matte top coat to seal in the design
Make sure that you wait for the design to dry a little on its own before you slap on a top coat. (If you’re too hasty, you’ll smudge all your hard work. Patience pays off!) I recommend waiting about 15 minutes or longer.

Step 6: Tell someone that you have a bone to pick with them
Bone Up on Adding Bones to Your Nail Art
Maybe you don’t want to wear bones by themselves. No problem! There are other ways to add them to fun Hallowe’en nail art. For instance, remember the silly Chicken Drumstick Nail Art (from 2011) and the Neon Skull Nail Art (from 2012) that I did? It’d be easy to add a few extra bones as accents.
Disclosure: OPI My Gondola or Yours?, Pretty Serious Presence, and Pretty Serious Aqua Coat Top Coat were provided by me by PR or the company.
Have you decided what you’ll be sporting for your Hallowe’en manicure? What’s your favourite spooky nail design that you’ve worn or seen?


Too cute and so easy! I’ll definitely try this one out. Thanks for sharing it with us! 🙂
Hey Melissa!
Super easy, and it’s not a design that you’ll worry about seeing everywhere. 😉 Thanks for checking out my blog!
Very cute manicure 🙂
Your blog is also very good for my household skills. My monitor doesn’t get the chance to become dirty… I again sprayed tea all over it when I read your remark about making sure to do dots on both sides of the bones 😀
Joyce recently posted: ILNP Diablo with gold accents
Hey Joyce!
Hahahahahaha! My pleasure helping you keep your monitor so clean, you could eat off it! 😛
Yup, apparently, the addition or subtraction of two little dots can make all the difference. 😉
These are very cute!
Sasha recently posted: All About Nail Polish Tag
Hey Sasha!
Thank you! 🙂 When I painted these, I was tempted to do my Drumstick Nail Art again. That design was fun to wear, and I remember getting a laugh out of it.