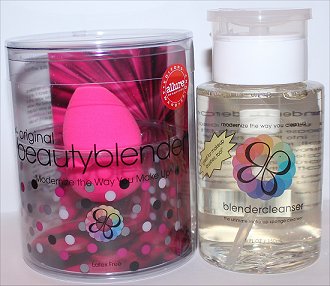
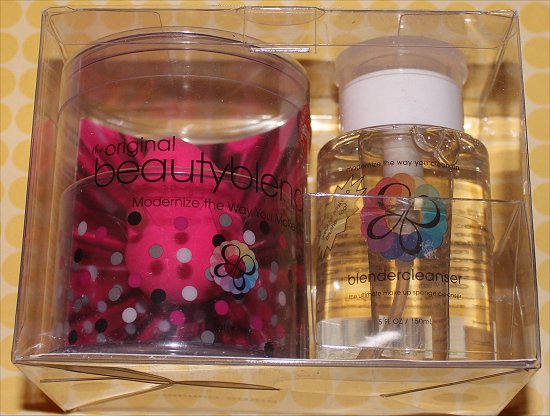
 Last year when I attended IMATS, I found a good deal on a beautyblender set that included both the beautyblender and the blendercleanser for $30 CAD flat (no tax).
Normally, the beautyblender alone costs $26 CAD plus tax, so I gave into the temptation and bought it. (This was waaay before I heard about inexpensive dupes of this makeup sponge.)
Lots of makeup artists and beauty enthusiasts recommend the beautyblender, and it has won Allure’s Best of Beauty Award around 5 times!
I had been curious to try it for a long time with liquid foundation, even though you can use it with blush, bronzer, and pressed powder.
For powdered products, I like using a brush, so for this review, I just tested it on liquids like foundations, concealers, and BB creams.
So, did it live up to the hype for me?
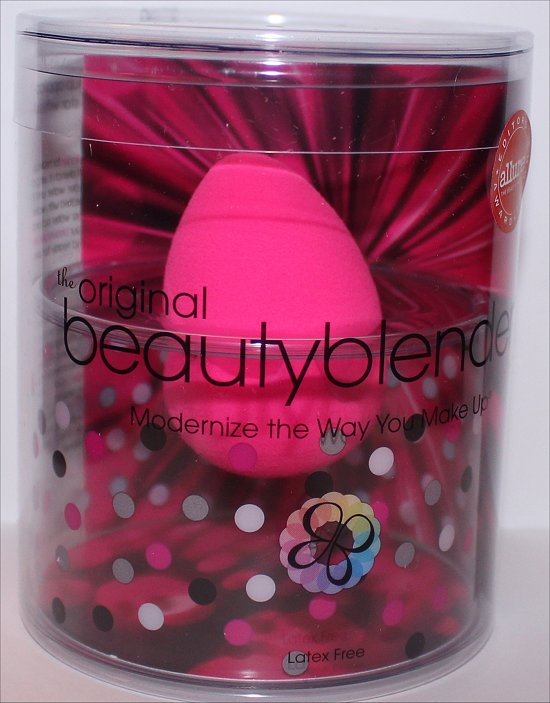
beautyblender Pictures


When I took it out of the package and it was dry, I could see indentations all over where the pedestal clamped onto it.

After wetting it with water, it drastically expands and the indentations went away! (Okay, I have small hands, but the sponge still really grows about twice its original size!)

blendercleanser Pictures


Claims: TRUSTED
- Helps to blend & apply makeup (Yes)
- blendercleanser can clean the beautyblender & makeup brushes (Yes)
Key Notes
- Name: beautyblender & blendercleanser set
- Amount: 1 beautyblender & 1 bottle of blendercleanser (150 mL / 5 fl. oz.)
- What I Paid: $30 for the set at IMATS 2012
- Where to Buy: The items individually can be found at Sephora stores, the Sephora website & sometimes at an IMATS booth.
beautyblender Review (Plus blendercleanser Review)
Efficacy
I thought that the beautyblender did a great job at applying makeup to my face evenly. I didn’t need to spend too much time blending things out. Just a few pounces of this sponge left me with an airbrush finish without any harsh lines.
Whether I used it to apply liquid foundation, liquid concealer, or a BB cream, and easy-to-use.
I also noticed that if my skin was on the drier side, using the beautyblender helped the makeup not cling to the dry patches.
The shape of the beautyblender is smart because you can use certain parts of the surface to reach particular sections of your face.
I like to use the large, round end for my forehead and cheeks. Then, the pointed end, I like to use on its side to get around my nose, under my eyes, and on my chin.
It was very comfortable and soft to hold in my hands, and it feels fun to use on your skin. (I couldn’t suppress my inner child because, the whole time, I was thinking that I was using a sponge cake on my face! Hehe! Don’t worry – I didn’t nibble it.) 😉
Cleaning
When I bought my beautyblender, the sales associate at the booth told me that you’re supposed to only clean it with the blendercleanser. (Originally, I wanted to use dish detergent, mild baby shampoo, or my MAC Brush Cleanser, but I heeded the advice and have only been using the blendercleanser.)
The blendercleanser has a flip-up cap that reveals what looks like a suction cup for the opening. To use, you just press down on the ‘suction cup’, and it dispenses product on top, which you can dip the dirty parts of the damp beautyblender into.
Afterwards, you squeeze it several times and then rinse with water. I had to do this a few times before most of the makeup came off. Then, you rest it in the little plastic platform that it came with. (You could just lay it flat to dry, but until my plastic platform breaks down, I’ll continue to use it.)
One thing I don’t like is that no matter how meticulous I was about cleaning it, there always seem to be small parts of foundation that linger on the sponge. Okay, I’m not a germophobe, but I like to keep my makeup brushes and sponges clean because they touch my face, and I have the type of complexion that can get pimples if I don’t use tools that are clean.
While the beautycleanser does double duty to clean brushes well, I feel that it isn’t so great for the beautyblender. When I clean something, I want it to be completely clean and not leave behind stains.
For this reason, I’m not a big fan of the beautyblender cleanser.
(If you’ve tried another cleansing method with your beautyblender and it hasn’t damaged the sponge, please let me know in the comments!)
How to Use the beautyblender
First of all, when you get your new beautyblender, it will obviously be dry. It’s perched on a cute multi-coloured dotted plastic platform, and the sponge feels dense.
Since I bought my beautyblender on an impulse buy, I hadn’t done any research beforehand. Haha, so when I ran the sponge under water to clean it before the initial use, I was surprised to see that it expanded to almost twice its original size!
(Again, my inner kid came out because I couldn’t help but think of those little toys that you soak in water, and they grow 600% or something ridiculous like that. Hehe!) 😉
After it’s clean and your saturate the sponge with water, you squeeze it in your hand to get rid of the excess water. Then, you cover it with a towel and squeeze it again to further remove more moisture. At this point, it’s ready to be used.
Although I’ve tried putting foundation, concealer, or a BB cream directly onto the sponge, I found that I preferred putting the product on the back of my hand or applying it directly onto the areas of my face first before going in with the sponge.
When you use the beautyblender, you use light, pouncing motions. This will magically blend the makeup seamlessly. It also feels really cool, and I’ll admit that even when all my makeup was blended, I kept pouncing the sponge more because it was fun and because the little things in life bring me happiness.
Value
This is the most expensive sponge I have ever purchased. While I have been known to splurge on quality makeup brushes, I am pretty much a cheapskate when it comes to sponges because I rarely purchase them, and when I do, they’ve always been extremely inexpensive (like disposable wedge sponges in a pack of 40 for $4 CAD).
So, buying the beautyblender was atypical of me. Even though I purchased it for less than the retail price in a special set, I still think it’s expensive.
When my beautyblender eventually gets old and dingy, I’m not sure if I’ll be repurchasing it if I don’t get it in another value pack. Plus I have soooo many face brushes that the beautyblender becomes more of an ‘extra’ to me rather than an essential. (If you don’t have a lot of brushes, perhaps this sponge would be your daily go-to for applying makeup.)
Also, I heard that there are inexpensive dupes on the market for this that do the same thing well. The only difference is that the shape has an hourglass silhouette, but the round and pointed ends are the same. If you’re interested in this sponge, you may want to test-drive the cheaper alternative first to see if you like it.
Pros
|
Cons
|
Final Verdict: 7.5/10
I love the way it applied my makeup and how it blended everything seamlessly. Plus the clever design makes it quite handy to reach all the nooks and crannies. Hehe, and the hot pink is a fun touch because it makes putting your makeup on in the morning something you look forward to.
While some makeup gurus swear by this sponge, I think it’s good and does what it claims to, but it really bothers me that I’m not able to remove all traces of makeup from it when I clean it several times. (With brushes, I can get every little bit of makeup out.)
Also, I feel like this is a high-maintenance beauty tool because you have to clean it so carefully and dampen it before using.
I will continue to use it until it falls apart because it does a super job at blending. But I’ll wait for a value pack or I’ll check out the dupe if I want to continue using this in my beauty routine.
Have you tried the beautyblender? Have you tried the dupes? Do you prefer using brushes or sponges to apply your face makeup?


Looks like a cool product.
Hey Melissa!
Haha, I’ll admit that it’s very fun to use, and it provides a nice finish. Plus seeing the bright pink is so cheery!
OOOoooooooohhhhhhhhh THAT kind of blender. hehehehe I was mildly confused. 😉
Elizabeth Markham (@ScorpioLizzy) recently posted: LA Colors Neons!
Hey Elizabeth Markham!
We take one cup of eye shadow, blend it. Then, two tablespoons of nail polish, followed by half a teaspoon of perfume. Haha! 😉
sounds like a great product
Hey Icequeen81!
I’m glad I bought it and tried it. It blends very well, as they promise, and the coverage is nice when I use the sponge.
I’ve been tempted to get one of these, but I have a hard time justifying that much money for a sponge. I have brushes galore and you know what I use most? My fingers. I’m still tempted to get one of these because I just have to check out the pouncing. I know I would be so into that. Ha ha ha. I have an inner child too.
Hey Cindi!
The other day, I went to Shoppers Drug Mart and saw that a brand that’s exclusive to them (Quo) is offering a beauty sponge for $5 CAD! It’s meant to be used like the beautyblender, and wow, what a price difference! I’m curious to try it, but I need to wait until this beautyblender dies on me before I can justify getting a new sponge.
There are lots of inexpensive dupes out there, so maybe you can try a dupe first since they’ll be easier on your wallet!
Good stuff but I prefer using a brush !
Hey Cris!
I tend to use brushes or my fingers most times, but with all the hype, I just had to try this beautyblender! 🙂
I’ve tried many dupes and think it would be the same as the beauty blender even though I have never tried the official product. I like dotting foundation on my face, then using a brush to spread evenly, and use the sponge to erase any harsh lines around the hairline, around the nose and overall, just softening the overall effect.
Hey Sandra!
Just saw a dupe for $5 at my local drug store!
That’s a good method you mentioned. I should try it. So far, whenever I’ve used the beautyblender, I’ve always used just the sponge and no brushes. It’s be interesting to see how your way works on me!
Ah! So glad I didnt bother getting one of these! Thank you for confirming my thoughts about how expensive it is for something I’m sure there is a cheap dupe of!
Hey Kat!
I’m happy to save you money!
Yes, just the other day, at Shoppers Drug Mart, I came across a $5 CAD dupe!
Love my beauty blender! I have the liquid soap cleanser and mine hasn’t really been stained yet!
Olivia recently posted: NYX Butter Lip Balm in Red Velvet Review & Swatch
Hey Olivia!
Glad to hear that you’re able to get out all the product from the sponge. I’m having a hard time with that! Although yesterday, I tried something different. Normally, I wash the sponge right after I use it. This time, I let it dry with the foundation in it, and then I washed it hours later. I was able to get more of the foundation out of the sponge, but I could still see a bit. Still, though, it was a vast improvement! (I may have to edit this post later to reflect this tip in case someone finds it helpful.)